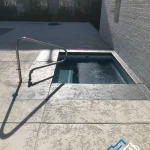
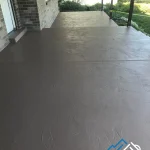
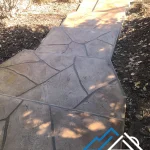
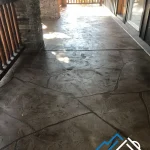
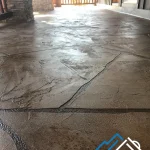
At Summit Coatings, we specialize in providing top-quality concrete overlay solutions to enhance the look and durability of your surfaces. Whether you’re looking to update your driveway, patio, or garage floor, a concrete overlay is an excellent way to breathe new life into old or damaged concrete. If you’re wondering about the concrete overlay installation process in Utah or the steps in applying a concrete overlay in Utah, here’s everything you need to know about the installation procedure and what to expect during the process.
1. Initial Consultation and Surface Evaluation
Before the installation begins, the first step in the concrete overlay installation process in Utah is an initial consultation. At Summit Coatings, we’ll assess the condition of your existing concrete surface to determine if it’s a good candidate for an overlay. Our team will check for any significant cracks, uneven areas, or other issues that might need attention before proceeding.
If the surface is structurally sound and the existing concrete is in decent condition, we’ll move forward with preparing the concrete for the overlay application. If there are any major issues, such as deep cracks or large-scale damage, these will need to be repaired before proceeding with the overlay.
2. Surface Preparation
Surface preparation is a crucial part of the steps in applying a concrete overlay in Utah. For the overlay to adhere properly and last for years, the existing concrete needs to be thoroughly cleaned and prepared. This involves:
- Cleaning the Surface: We’ll remove any dirt, debris, grease, oil, or stains that might interfere with the bonding of the overlay. This often includes pressure washing to ensure the surface is clean.
- Grinding or Etching the Concrete: To promote better adhesion, we may grind or etch the surface of the existing concrete. This creates a rough texture that allows the overlay to bond securely.
- Repairs (If Needed): If we identify any cracks, chips, or other damage during the evaluation, we’ll repair these areas to ensure a smooth, even surface for the overlay application.
Proper surface preparation is essential for a successful concrete overlay, and at Summit Coatings, we ensure this step is done thoroughly before moving on to the next phase.
3. Mixing and Applying the Overlay Material
Once the surface is prepped, the next step in the concrete overlay installation process in Utah is mixing and applying the overlay material. Concrete overlay materials come in various formulations, depending on the desired finish and durability. At Summit Coatings, we offer high-quality, durable materials designed to withstand Utah’s weather conditions.
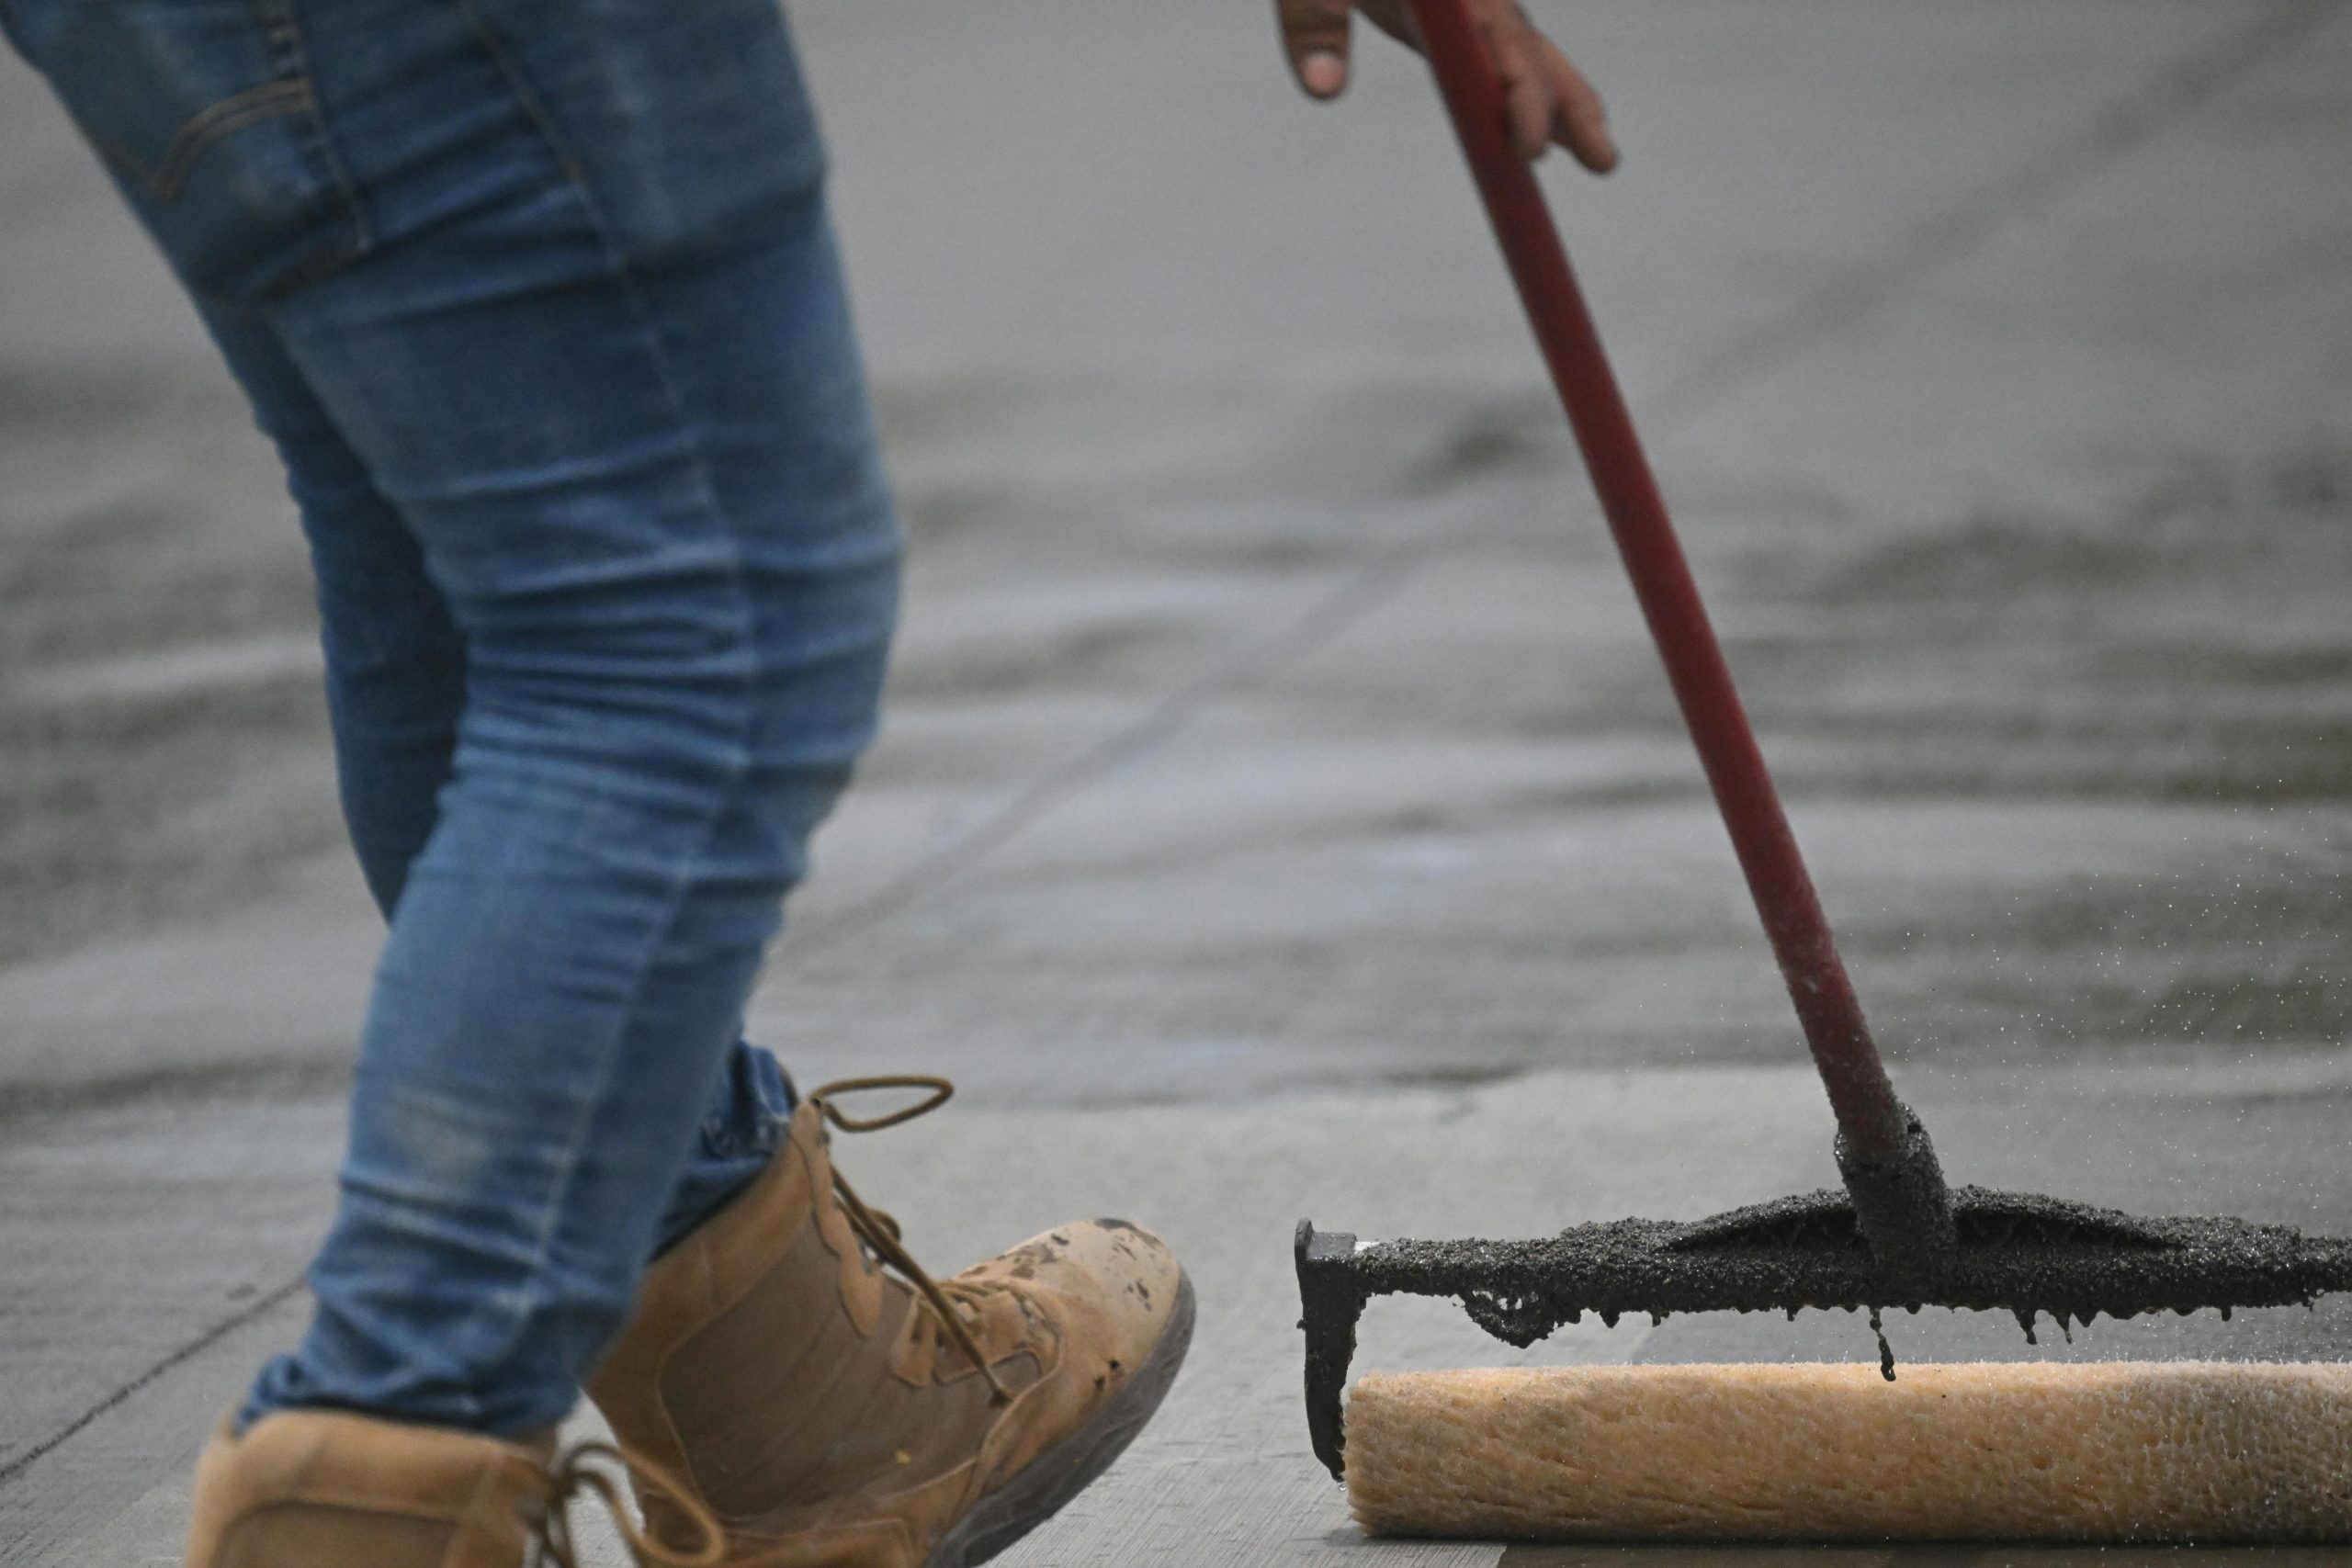
We’ll carefully mix the overlay material to the proper consistency and apply it evenly over the prepared surface. Depending on the size and complexity of the area being covered, the application may be done by hand or with specialized tools like squeegees or trowels.
4. Shaping and Texturing the Surface
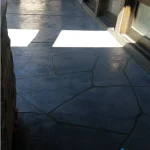
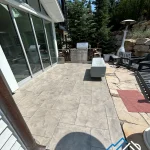
Once the overlay material is applied, the next step is to shape and texture the surface to your specifications. If you’re looking for a specific look—such as a stamped concrete finish, a smooth, polished surface, or a decorative pattern—this is when it will be created.
Our team can apply various textures, patterns, and finishes to give your concrete a unique and attractive appearance. For example, if you want the look of natural stone, brick, or slate, we can use stamping techniques to achieve that look. If you prefer a smooth, modern finish, we’ll polish the overlay to perfection.
5. Curing the Overlay
After the overlay has been applied and shaped, it’s time to let it cure. Curing is an essential part of the steps in applying a concrete overlay in Utah, as it allows the material to harden and fully bond with the existing concrete. The curing process typically takes a few days, during which time the surface must be kept dry and undisturbed.
We take great care during this phase to ensure that the overlay is properly cured, which helps prevent cracking and ensures the longevity of the finish.
6. Sealing the Overlay
Once the overlay has cured, we’ll apply a high-quality sealer to protect the surface. The sealer acts as a protective barrier against stains, moisture, and wear, ensuring your newly overlaid concrete stays looking fresh for years to come.
At Summit Coatings, we offer different types of sealers, including matte, gloss, and satin finishes, allowing you to choose the finish that best suits your style and needs. Sealing your concrete overlay will also make it easier to clean and maintain, keeping your surfaces looking beautiful with minimal effort.
7. Final Inspection and Walkthrough
Once the concrete overlay installation is complete, our team will perform a final inspection to ensure that everything has been applied correctly and that you are satisfied with the results. We’ll walk you through the newly overlaid surface to ensure that all your expectations have been met.
At this point, we’ll also provide you with information on how to care for and maintain your concrete overlay to ensure it lasts as long as possible.
The concrete overlay installation process in Utah is a detailed and professional procedure that, when done right, can completely transform the look and durability of your concrete surfaces. Whether you’re looking to update your driveway, patio, or garage floor, Summit Coatings is here to guide you through each step, from surface evaluation to the final seal.
If you’re ready to give your concrete a fresh, durable finish, contact Summit Coatings today. Our expert team is ready to help you achieve the concrete surface you’ve always wanted. For more information on our services, visit us at Summit Coatings.
